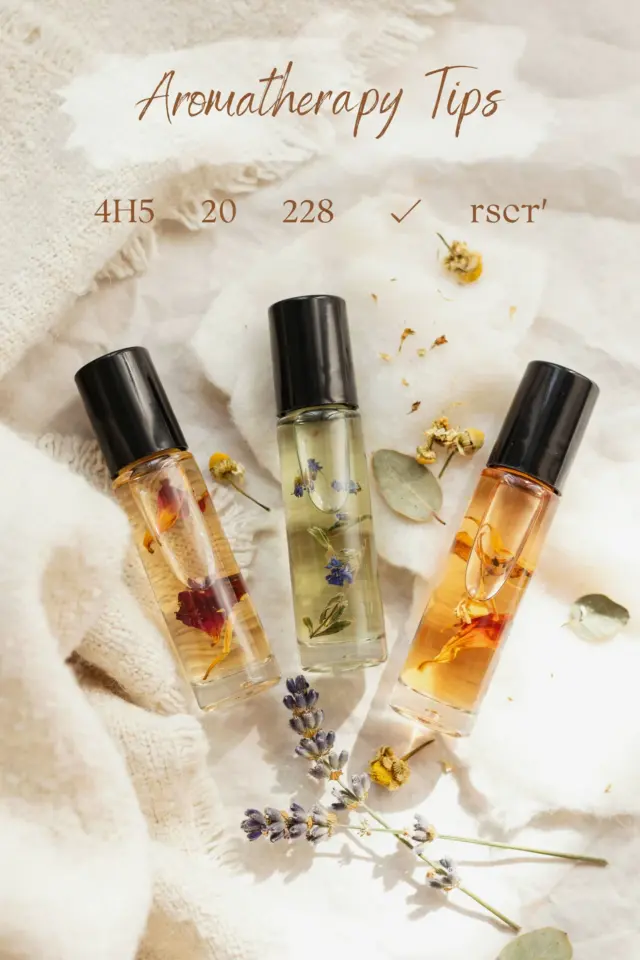
If you have ever wanted a scent that feels truly yours without the mystery chemicals found in most commercial perfumes, a botanical perfume recipe is exactly where you should start. Making your own custom fragrance from essential oils and carrier oils is not just a creative project, it is a way to connect with nature and your own preferences in a deeply personal way. This guide will walk you through the practical steps of blending a signature scent that works for your skin chemistry and your mood, whether you are a total beginner or someone who just loves playing with natural aromas.
Why make your own botanical perfume at home
Commercial perfumes often contain synthetic fixatives, phthalates, and artificial musks that can irritate skin or trigger headaches. A botanical perfume skips all of that. You control every single ingredient. You also get the bonus of aromatherapy benefits, because the essential oils you choose can uplift, calm, or ground you depending on your blend. Plus, making your own perfume is far more affordable than buying a niche natural brand. You can create several different blends for the price of one boutique bottle.
Another reason is the sheer joy of experimenting. You learn how different notes interact. You discover that a drop of lavender can soften a sharp citrus, or that a tiny splash of patchouli can give a floral blend depth. It feels like being a perfumer in your own kitchen, without any of the pressure.
Essential tools and ingredients for your DIY perfume
Before you start mixing, gather a few simple items. You do not need fancy equipment, just some glass bottles and a few base ingredients. Here is what I recommend:
- Glass perfume bottles with rollerballs or small amber dropper bottles. Dark glass protects oils from light.
- A carrier oil like jojoba, fractionated coconut, or sweet almond oil. Jojoba is my favorite because it closely mimics skin sebum and has a long shelf life.
- Essential oils of your choice. Start with three to five oils that appeal to you. Think about top, middle, and base notes.
- A small funnel or pipettes for clean pouring.
- Labels and a notebook to record your blends. Trust me, you will forget what you mixed after a few experiments.
Do not use plastic containers because essential oils can degrade them over time. Glass is the way to go. And always dilute your essential oils in a carrier oil, never apply them undiluted to skin.
Understanding scent notes: top, middle, and base
Every botanical perfume recipe relies on the concept of fragrance notes. This is just a way to describe how quickly an oil evaporates and how long its scent lasts on your skin. Top notes are the first thing you smell, bright and fleeting. Think grapefruit, bergamot, lemon, or peppermint. They evaporate within 30 minutes to an hour.
Middle notes, often called heart notes, form the body of your perfume. They appear after the top notes fade and last a few hours. Lavender, rose geranium, clary sage, and chamomile are common middle notes. Base notes are the heaviest and slowest to evaporate. They anchor the blend and linger for hours or even all day. Patchouli, cedarwood, sandalwood, and vetiver are classic base notes.
A well-balanced perfume usually has a ratio of roughly 30% top notes, 50% middle notes, and 20% base notes. That is a starting point. You can adjust based on your personal taste. If you want a perfume that lasts longer, lean heavier on base notes. If you want something light and fresh, emphasize top notes.
Step by step: how to blend your custom essential oil blend
Now we get to the fun part. Start with a small test batch, maybe 10 drops total of essential oils in 5 ml of carrier oil. That keeps waste low if you do not love the result. Here is my simple method:
First, choose your base note oil. Add 2 drops to a small glass bottle. Then add your middle notes, around 5 drops total if you are using two or three oils. Finally, add your top notes, 3 drops. Swirl the bottle gently to mix the oils together. Do not shake vigorously, that introduces air bubbles which can oxidize the oils faster. Let the blend sit for 24 to 48 hours before testing on your skin. This resting period allows the molecules to marry and the true scent to develop.
After resting, dab a tiny amount on your wrist. Smell it immediately, then again after 30 minutes, and again after a few hours. Your perception changes as the oils warm up. If you think it needs something, make small adjustments. Add one drop at a time and rest again. Patience is the secret to a genuinely good custom scent.
Aromatherapy tips for choosing oils based on mood
One of the best parts of making your own natural scents is that you can tailor them to how you want to feel. I like to keep a few simple aromatherapy guidelines in mind. For a calming evening blend, try lavender as the middle note with a touch of frankincense as the base and a tiny hint of sweet orange for brightness.
If you need focus and energy in the morning, go for peppermint or rosemary as a top note, with a middle of grapefruit and a base of cedarwood. That combination feels sharp and grounding at the same time. For a romantic or comforting perfume, rose geranium (middle) with a base of sandalwood and a top of bergamot works beautifully. The key is to trust your nose. If a combination smells good to you, it probably is good for your mood.
How to test, adjust, and store your botanical perfume
Testing is not a one-time step. Write down your exact blend in your notebook, including the number of drops of each oil and the carrier oil used. Smell it at different times of day and on different parts of your
#botanicalperfume #diyperfume #essentialoilblend #aromatherpaytips #naturalscents
Leave a Comment