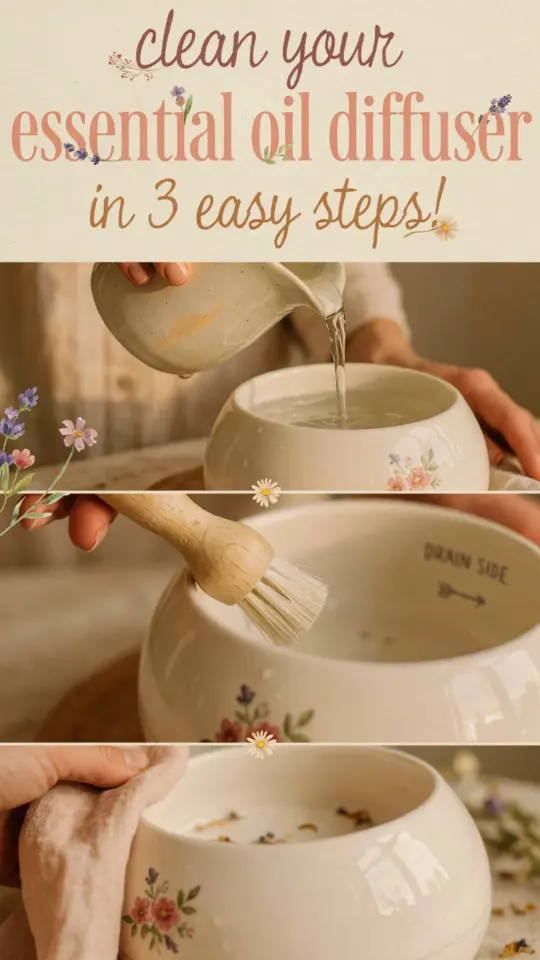
Your diffuser is sitting on your nightstand right now, and honestly, the water in that tank could probably grow a science fair project. If you are like me, you bought this thing for the cozy vibes, not for the mold farm that eventually starts forming in the corners. The problem is, most of us only think about the diffuser when it clogs up and quietly stops misting, and by then, we are losing the aromatherapy benefits we paid for.
The whole process of cleaning your essential oil diffuser in 3 easy steps is actually easier than you think, but only if you avoid the common mistakes that ruin the gadget quickly. I have killed two diffusers in my life by being lazy, and the third one only survived because I finally read the manual out of sheer desperation. Look, this is not a high-effort chore. It takes about five minutes, and doing it weekly means your oils actually smell like the forest or citrus grove they claim to be, not like stale plastic.
The trick is to stop treating it like a mysterious luxury item. It is a machine with a tiny ultrasonic plate, and that plate hates hard water and thick oils. I am going to walk you through the exact routine that keeps my bedroom smelling like a rainstorm in a pine forest without wasting a single drop of expensive oil.
Why Your Diffuser Smells Off or Mists Weakly
Think about what you are putting in there. Essential oils are concentrated plant compounds, and they are sticky, resinous, and kind of aggressive when they dry onto a surface. If you are using a diffuser every day, that residue builds up fast, and the little metal disc at the bottom starts to struggle.
That weak mist that barely makes it six inches into the air? That is not a battery issue. That is a caked-on layer of oil and mineral deposits blocking the vibrations. The smell changes too. Instead of a crisp eucalyptus, you get a sour, bitter note that clings to everything.
The humidity does not help either. The water you pour in there sits at room temperature for hours, and if you are using tap water, you are adding dissolved calcium and magnesium to the mix. Over time, that scale coats the plate like concrete, and no amount of just running it with water will fix it.
What You Actually Need Before You Start
Grab a few things before you head to the sink, because running back and forth with a wet diffuser is a recipe for dropping it. You need a soft microfiber cloth, a cotton swab or a soft-bristled baby toothbrush, and either white vinegar or rubbing alcohol.
Do not use soap. I know it is tempting, but soap leaves a film that messes with the next batch of water and can actually break down the plastic over time. You also want to avoid anything abrasive, steel wool is a one-way ticket to scratching that metal plate and destroying your diffuser permanently.
If you have serious hard water stains, white vinegar is your best friend. If you just need a quick weekly refresh, rubbing alcohol cuts through sticky oil faster than anything and evaporates without leaving residue.
How to Disassemble and Empty the Water Tank Properly
Unplug it first. Look, you probably know that, but I have definitely absentmindedly grabbed a diffuser and dumped water out while it was still plugged in, and it is a stupid risk, so just unplug it.
Take the top off and separate the lid from the base. Pour out the remaining water completely, and just tilt it over the sink for a solid ten seconds. There is always a little pool hiding in the bottom rim, and if you do not get that out, you are just diluting your cleaning solution.
Remove any removable parts like the cap or the inner chamber if you have one. Some models have a little rubber gasket that pops out, and cleaning underneath it is where the science project really lives. Set everything aside so you can see the base clearly.
The Vinegar Method for Deep Cleaning a Diffuser
Here is where the magic happens. Fill the reservoir halfway with warm water, not hot, and add about two tablespoons of white vinegar. If the build-up is really nasty, you can go heavier on the vinegar, but half and half is usually plenty.
Let it sit for about fifteen minutes. Do not run the diffuser with vinegar in it. I made that mistake with my first one, and I accidentally fumigated my bedroom with a weird salad dressing scent, plus the heating element starts to cook the vinegar, which is not good.
After it soaks, use a cotton swab dipped in the vinegar solution to gently wipe around the sides and the metal disc. You will see brown or white gunk lifting off immediately. Take your soft toothbrush and give the rim a gentle scrub, especially around the water line where oils collect.
Dump the solution, rinse the tank thoroughly with plain water, and wipe it dry with your microfiber cloth.
How to Clean Essential Oil Residue With Rubbing Alcohol
For the hard, sticky oil buildup on the inside walls, vinegar sometimes just cannot cut it. This is where the rubbing alcohol comes in, and honestly, it is a game changer for getting that fresh-out-of-the-box look and feel.
Pour a splash of rubbing alcohol directly onto a cotton pad or your cloth and wipe down the inside of the tank and the lid. The alcohol dissolves the resin instantly, and you will see the stickiness just melt away.
Do not soak the diffuser in alcohol or submerge the base entirely. Electrical components live in there, and I am not here to create a fire hazard. Just wipe the accessible areas and let everything dry completely before you reassemble it.
Do the same on the outside of the diffuser. Fingerprints and dust make plastic look dingy, and a quick wipe with alcohol keeps it looking pretty on your shelf.
Daily Habits That Reduce Diffuser Build-Up
The best way to clean your essential oil diffuser in 3 easy steps is to never let it get filthy in the first place. Dramatic, I know, but it is true. Empty out the leftover water every single night if you are not using it overnight.
Also, switch up your oils. Thick oils like patchouli, vetiver, and sandalwood are notorious for clinging to surfaces faster than thin citrus oils. Mixing them in rotation gives the diffuser a break.
Use filtered or distilled water if you can. This is the single biggest tip I can give you. Distilled water leaves zero mineral deposits, which means you only have to fight oil residue, not rock-hard scale. It costs about a dollar, and it saves your diffuser from a slow, sad death.
- Use 90% isopropyl alcohol for the fastest drying time.
- Keep a dedicated toothbrush in your diffuser supplies so you never grab the one you brush your teeth with.
- Clean the misting chip after every third use to avoid deep soaking sessions.
How to Make Your Diffuser Last Longer in the Long Run
Reassemble your diffuser only when every single part is bone dry. If you put it together while it is damp, you are trapping moisture inside the base, which leads to that gross rust smell and potential corrosion.
Place it on a flat, stable surface away from direct sunlight. The UV rays actually break down the plastic and oxidize your oils, making them smell stale faster. Also, vibration is the enemy, so do not put it on a metal tray or anything that will rattle.
Store it with the lid off if you are not using it during the summer months. Air circulation is necessary. Honestly, the amount of people who put a damp diffuser in a cabinet and forget about it for six months only to pull it out and find black mold inside is way too high.
Pay attention to how long you run it. Most diffusers have an auto shut-off, but if yours does not, running it dry will burn out the ultrasonic disc. Do not let it run overnight if you are not filling it correctly. Set a timer. Keep it filled.
So here is the deal: take the ten minutes to do this now, and your diffuser will keep diffusing for years. Your space will smell like actual aromatherapy instead of a musty attic, and you will not have to awkwardly throw away a perfectly good gadget and replace it with a new one. Give your diffuser a little wipe-down this afternoon and treat yourself to a cozy session tonight. Your nose will literally feel the difference.
Leave a Comment