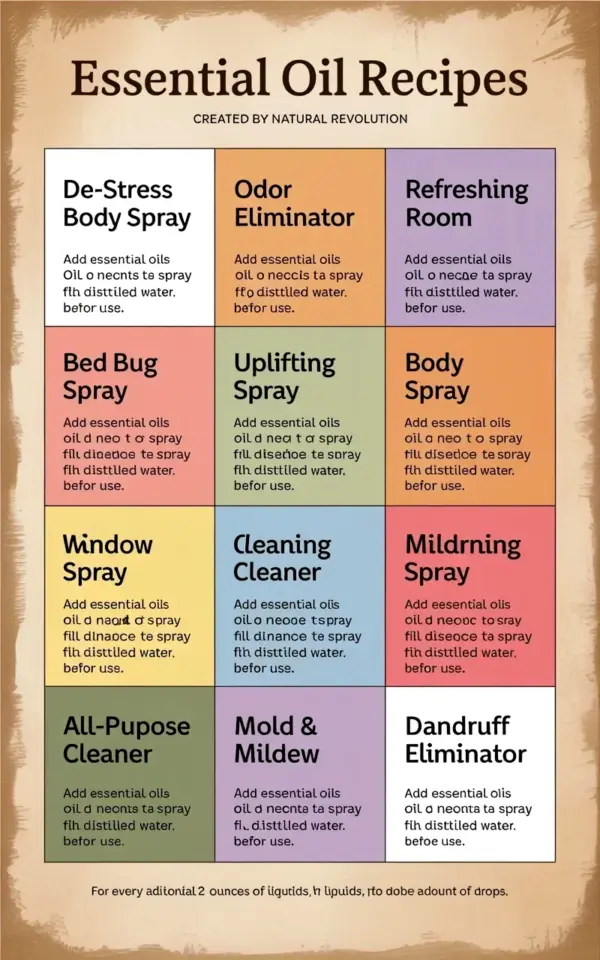
I first stumbled on a chart just like this one from Natural Revolution while scrolling Pinterest late at night. The beige parchment background, the dark brown title “Essential Oil Recipes,” and that neat 3×3 grid of color coded sections caught my eye immediately. It promised nine different spray blends for home and body, from a de-stress body spray to a mold remover. And the best part? Most of these recipes cost less than a takeout coffee to make. This DIY Essential Oil Spray Recipes Chart is exactly what you need if you want to cut down on plastic bottles, avoid mystery chemicals, and still keep your home fresh and your mind calm. I have been mixing my own sprays for years now, and I can tell you: the savings add up fast, especially when you buy your oils in small, smart batches.
Why Make Your Own Essential Oil Sprays? (Budget and Health Benefits)
A single bottle of “all natural” room spray at the health food store can run you $12 to $18. For that price, you can make at least four different sprays at home, each using about 10 to 20 drops of oil. The upfront cost of a few essential oil bottles might seem steep, but a 10 ml bottle of lemon or lavender costs around $5 to $7 and will last through twenty or more spray bottles. You also avoid the synthetic fragrances and preservatives that often hide in commercial cleaners and body sprays. That matters if you have sensitive skin, allergies, or just prefer a truly non toxic home.
Another advantage: you control the strength. Like a lighter scent? Use fewer drops. Want your all-purpose cleaner to really cut grease? Add an extra drop of lemon or tea tree. Store bought products are fixed formulas. Homemade sprays bend to your needs, and your wallet notices the difference.
De-Stress Body Spray and Uplifting Body Spray: Two Mood Boosters
The chart shows a calm blue section for De-Stress Body Spray and a bright yellow one for Uplifting Body Spray. I keep both in my bathroom cabinet. The de-stress blend usually calls for lavender, frankincense, and a touch of cedarwood in a distilled water base with a little witch hazel. It smells like a spa but costs about 50 cents per batch. I spritz it on my pillow before bed or on my wrists after a long day. The uplifting version uses citrus oils like sweet orange and grapefruit, with maybe a drop of peppermint for wakefulness. Perfect for a mid-afternoon energy boost that doesn’t involve caffeine.
Both sprays are incredibly simple to mix. You just need a small glass spray bottle, about 20 drops of essential oils total, and 2 ounces of water plus 1 tablespoon of witch hazel or rubbing alcohol to help the oils blend. The chart suggests these proportions, but you can adjust based on your sensitivity. If you are on a tight budget, start with just two oils per spray. Lavender and orange together still smell beautiful and cost you less than a full kit.
Odor Eliminator and Refreshing Room Spray for a Fresher Home
Commercial odor eliminators often mask smells with heavy synthetic perfume. The chart’s Odor Eliminator Spray (a pale green section) takes a different approach. It typically uses tea tree, lemon, and a drop of eucalyptus. Tea tree is antibacterial, lemon breaks down odor molecules, and eucalyptus adds a crisp, clean note. I use this spray on my kitchen trash can, inside shoes, and around pet areas. It actually neutralizes odors instead of covering them up.
The Refreshing Room Spray (soft pink section) is lighter and more decorative. I mix lavender, geranium, and a tiny bit of bergamot for a floral scent that makes my living room feel inviting. Both sprays cost pennies per use, especially if you reuse old spray bottles. Just wash them thoroughly with hot soapy water and a drop of vinegar to remove any residual fragrance from the previous product. That small step saves you money and keeps your blends pure.
All-Purpose Cleaner and Window Cleaning Spray: Non-Toxic Home Cleaning
Two of my favorite sections on the chart are the All-Purpose Cleaner and the Window Cleaning Spray. The all-purpose cleaner (often a citrus green color) usually combines lemon, tea tree, and orange essential oils with white vinegar and water. I know some people worry about the vinegar smell, but it fades within minutes, and the citrus oils help mask it. This cleaner handles countertops, bathroom surfaces, and even sticky stove tops. Vinegar plus essential oils costs about one tenth of what you pay for a branded cleaner.
The window cleaning spray (a light blue section) skips the vinegar to avoid streaks. It typically uses distilled water, a splash of rubbing alcohol, and a few drops of lemon or lemongrass oil. I use it on mirrors, glass tables, and even my phone screen. The alcohol evaporates quickly, leaving no residue. Both sprays are completely non toxic, so I do not worry about my cat licking the counter or my toddler touching a freshly cleaned window. That peace of mind is worth more than any price tag.
Bed Bug Spray and Mold Remover: Targeted Natural Solutions
Two darker sections on the chart address tougher problems. The Bed Bug Spray usually features tea tree, lavender, and peppermint essential oils, which are known to deter and even kill bed bugs on contact. While no home remedy replaces professional pest control for a severe infestation, this spray works well as a preventative. I spray it on mattress seams, along baseboards, and inside luggage after travel. The peppermint smell is sharp but fades.
The Mold Remover (a greyish green section) uses tea tree oil and grapefruit seed extract mixed with water. Tea tree is a powerful antifungal, and grapefruit seed extract boosts its mold killing ability. I keep a small bottle in my bathroom and spray it on shower curtain corners and around the window sill once a week. It stops mold from taking hold without the harsh bleach fumes. Both of these recipes are budget friendly because they rely on just two or three oils that you likely already own if you make other sprays.
Store these sprays in dark glass bottles if possible. Essential oils break down in plastic over time, especially citrus ones. But if you are on a tight budget, plastic spray bottles work fine for a few weeks. Just do not leave them in direct sunlight.
How to Use This Chart: Tips for Mixing and Storage
The chart from Natural Revolution is laid out in a clear 3×3 grid, each section with its own color and list of oils. To get the most out of it, write the recipe names on your bottles with a permanent marker or label maker. I learned the hard way that all sprays look identical after a month. Also, always add the essential oils to the water or alcohol first, then shake gently. Do not shake too hard or you will create too many bubbles.
- Use distilled or boiled and cooled water to keep sprays fresh longer.
- Add a teaspoon of vegetable glycerin if you want the fragrance to linger on fabric.
- Shake the bottle before each use because oils and water naturally separate.
- Label each bottle with the date and the recipe name from the chart.
- Store in a cool, dark place to preserve the oils’ potency.
I also recommend starting with the simplest recipes first, like the refreshing room spray or window cleaner. Once you see how easy it is, you will feel confident moving to the mold remover or bed bug spray. The chart is designed for beginners, but even experienced mixers appreciate having all nine recipes in one glance.
Budget Friendly Ingredients and Substitutions
You do not need to buy every oil listed on the chart at once. Pick three or four sprays you will use most often, and buy only the oils they share. For example, lavender appears in the de-stress body spray, bed bug spray, and refreshing room spray. Lemon shows up in the odor eliminator, all-purpose cleaner, and window spray. If you buy just lavender, lemon, tea tree, and peppermint, you can make six out of nine recipes. That is smart shopping.
Witch hazel is inexpensive (around $4 for a large bottle) and doubles as a toner for your skin. Rubbing alcohol costs even less. White vinegar is a pantry staple. Reuse glass bottles from old hot sauce or salad dressing jars if you do not want to buy new ones. Just remove the labels with a little oil and baking soda. The goal is a non toxic home, not a picture perfect collection of trendy bottles. Your DIY sprays will work just as well in a repurposed jelly jar with a spray top.
One last tip: do not fall for expensive “pre blended” oil sets. Buy single oils from reputable brands that offer free shipping or discounts on multi packs. That keeps each spray under a dollar per batch.
Saving the chart to your phone or printing it out makes your next DIY session quick and satisfying. You will wonder why you ever paid for store bought sprays in the first place. Next time you want a fresh kitchen or a calm mind, look at that 3×3 grid and pick your recipe. Your home and your budget will both thank you.
#EssentialOils #DIYCLeaning #Aromatherapy #NaturalRemedies #NonToxicHome
Leave a Comment