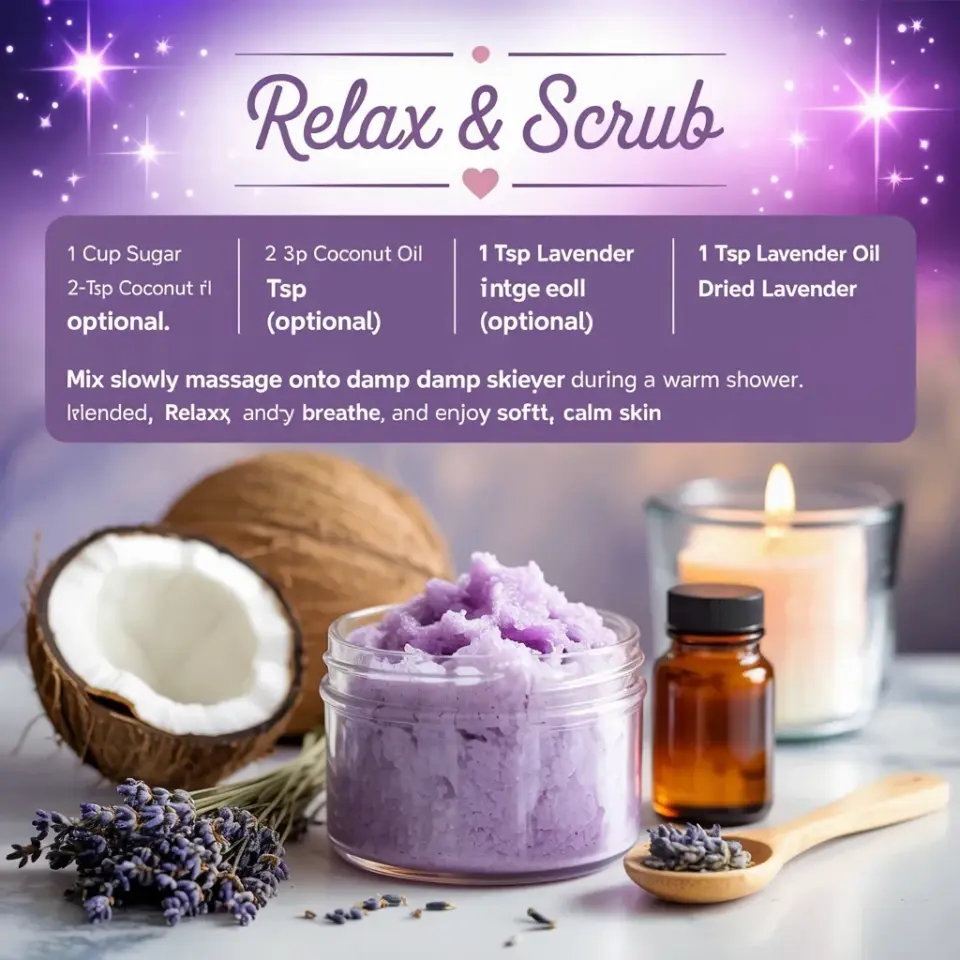
I’ve been making my own body scrubs for years, and this cheap DIY lavender body scrub is my go-to for relaxing without spending a ton. But here’s the thing: I’ve also made every single mistake in the book. Grainy messes. Oily puddles. A scrub that smelled like a cough drop. So I’m going to walk you through the exact pitfalls so you can nail it on the first try. Because once you get this right, you’ll never buy a jar of sugary goo from the store again. Not gonna lie, the savings are ridiculous.
Why the Size of Your Sugar Matters for a Homemade Lavender Body Scrub
First mistake I made? I grabbed the finest baker’s sugar I could find. It dissolved into the coconut oil before I even touched my skin. Like, poof. Gone. Honestly, you want a grain that gives you actual friction without turning into a bloody mess. Coarse white sugar is perfect. Brown sugar is a little softer if your skin is sensitive, but it tends to clump more. So here’s the rule: no powdered sugar, no raw turbinado that feels like gravel. Regular granulated sugar, maybe a little on the coarse side, is your sweet spot. And if you only have fine sugar, just reduce the oil a tiny bit so it stays gritty longer.
I once tried using leftover pink Himalayan salt because I thought it would look pretty. It felt like scrubbing with crushed glass. Don’t be me.
How to Keep Your Coconut Oil From Ruining the Texture of Your Lavender Scrub
Ok so coconut oil is solid when it’s cold and liquid when it’s warm. That sounds obvious, but it creates a real problem. You mix up your scrub in the summer, it’s a perfect paste. You take it into the shower in January, and it’s a solid brick that won’t scoop out. And if you try to soften it with warm water, the sugar dissolves instantly. Annoying. Here’s my fix: use a little fractionated coconut oil or even a neutral liquid oil like grapeseed or sweet almond. Mix maybe 70% solid coconut oil with 30% liquid oil. That way the scrub stays scoopable at room temperature but doesn’t turn into soup on a hot day. I live in an old apartment with a radiator that has a mind of its own, so this has saved me from scraping a rock-hard lump off the jar lid more than once.
Another trick? Don’t melt the coconut oil before mixing. Just soften it slightly, like take the chill off, and stir it into the sugar. If you melt it fully, the sugar will settle at the bottom overnight. You’ll end up with a hard sugar cake under a layer of clear oil. Waste of good lavender.
The Right Amount of Lavender Essential Oil (and Why You Probably Add Too Much)
Let’s talk about the smell. Most guides tell you to use 10-15 drops per cup of sugar. I get it, you want it to be pungent. But lavender oil is potent stuff, and too much can actually irritate your skin or give you a headache. And it makes the scrub feel greasy because essential oils are, well, oils. My personal rule: start with 8 drops per cup. Mix it in, take a sniff. Wait ten seconds. If it smells like a quiet meadow, you’re good. If it hits you like a lavender bomb, you’ve gone too far. You can always add more, but you cannot subtract. I learned this after making a batch that filled my entire bathroom with a scent so strong I had to air it out for two hours. My partner asked if I was trying to fumigate the place.
Also, use 100% pure lavender essential oil, not a fragrance oil. Fragrance oils often have synthetic stuff that can be harsh. Read the label. You want “lavandula angustifolia” or similar. I’m not a botanist, but I know the difference between a relaxing scrub and a chemical burn.
Common DIY Body Scrub Storage Mistakes: Keep Your Scrub Fresh Longer
Alright, you made a perfect batch. Now what? Don’t store it in a glass jar in your steamy shower. Water will get in, and water means mold. And bacteria. And a sad, smelly jar you have to throw away. Use a plastic or silicone container with a tight lid. Keep it in your bathroom cabinet, not on the shower ledge. Scoop out what you need with a dry spoon before you get wet. Honestly, it’s annoying but it makes the difference between a scrub that lasts months and one that goes funky in two weeks.
I’ll give you a weird little tip: add a drop or two of vitamin E oil to your batch. It acts as a natural preservative for the oils. Not necessary if you use it quickly, but if you’re like me and make a big batch every two months, it helps. Another thing: don’t add water. I’ve seen recipes that call for water or rose water. Skip it. Water plus oil plus sugar equals a breeding ground. If you want more moisture, use aloe vera gel (the shelf-stable kind) or just add more oil.
Here’s a quick checklist:
- Use a dry container with a tight lid.
- Store away from direct heat and humidity.
- Never dip wet fingers into the jar.
- Use within 3 months for best texture.
- If you see discoloration or an off smell, toss it.
I once found a jar in the back of my cabinet that had grown little white fuzzies. Don’t be that person. It’s cheap to remake.
Applying Your Lavender Scrub Wrong? Here’s How to Actually Exfoliate Without Damage
You’d think rubbing sugar on your skin is straightforward, but nope. I have a friend who used to scrub hard in circles like she was trying to erase a tattoo. Her skin got red and raw. The point of exfoliation is to slough off dead cells gently, not to scrape off a layer of epidermis. So here’s the technique: dampen your skin first in the shower. Turn the water off or step aside so you’re not standing under the stream. Scoop a generous amount of scrub, about a tablespoon per arm or leg. Gently massage in a circular motion with light pressure. Think of petting a cat, not scrubbing a pan. Let it sit for a minute if you want the lavender to do its relaxation thing. Then rinse with warm water and pat dry. Do not rub dry with a towel like you’re angry at it. Pat. Your skin will thank you.
Also, don’t exfoliate every single day. Twice a week max. Your skin needs time to regenerate. Over-exfoliation leads to irritation and dryness, which is the opposite of the soft skin you’re aiming for. I exfoliate on Sunday and Wednesday nights. It’s a little ritual. I light a candle, put on a podcast, and pretend I’m at a fancy spa for ten bucks.
Patch Testing: Boring but Necessary When You Make Your Own Skincare
Look, I know you’re excited to slather this all over your body. I was too. But everyone’s skin is different. Coconut oil can clog pores for some people. Lavender oil can cause a reaction if you’re sensitive. So before you go full body, do a patch test on the inside of your elbow or behind your knee. Rub a tiny amount, wait 24 hours, and see what happens. I once made a peppermint scrub that felt amazing on my legs but turned my arms bright red. No idea why. The patch test would have saved me a lot of explaining at brunch the next day. It’s a two-minute step that can save you a week of itchy regret.
And if you have sensitive skin, swap the lavender for a milder essential oil like chamomile. Or skip the oil entirely and just use vanilla extract (though that’ll cost more). The sugar and coconut oil alone are still a great scrub. The lavender is just a bonus for your nose and your mood.
I’ll be honest: the first time I made this, I didn’t patch test and I was fine. But the second time I used a different brand of lavender oil and got a little rash. So now I always test. Better safe than scratching.
So there you go. Those are the mistakes I’ve made so you don’t have to. This cheap DIY lavender body scrub really does make your skin soft and your evening calm, but it’s not foolproof. Pay attention to your grain, your oil ratio, your oil strength, and your storage. Get those four things right, and you’ll have a batch that rivals anything from a boutique. And it costs like two bucks. Try it on a Sunday evening. Put some music on. Exfoliate. Rinse. Moisturize with a plain lotion afterward. You’ll smell like a garden and feel like butter. That’s the whole point. Go make a batch, will you? Your skin and your wallet deserve it.
#diybodyscrub #lavenderscrub #budgetselfcare #homemadeskincare #relaxation
Leave a Comment